The Modern Quant Lab
A guide to creating a portable environment for software development and data science.


In quantitative finance, the alpha is in the algorithm, not the environment. Yet, countless hours are lost wrestling with inconsistent setups, dependency conflicts, and the infamous "it works on my machine" problem. A professional researcher needs a professional laboratory—a system that is as robust and reproducible as their statistical models.
This guide is about setting ourselves up for success. We will architect a Modern Quant Lab. This isn't just another project setup; it's a scalable, portable, and powerful foundation that lets you focus on what truly matters: research, experimentation, and backtesting. We will build a system that works seamlessly on your laptop today and on a powerful cloud GPU instance tomorrow, all with zero friction.
Why Not Just Use Google Colab or Kaggle?
Before we build our lab, it's fair to ask: why not use existing platforms like Google Colab or Kaggle Notebooks? These services are fantastic and have democratized data science. They offer zero-setup environments, free access to powerful GPUs, and are excellent for quick experiments, learning, and sharing results.
However, for a power user building a serious, long-term research system, they present limitations. This is where our approach differs. I prefer devcontainers for a simple reason: uncompromising flexibility and control.
Here’s the trade-off:
- Pre-built Platforms (Colab/Kaggle): They offer convenience at the cost of control. The environment is largely a black box. You can
pip installpackages, but you can't easily change system-level dependencies, install specific binaries, or deeply customize your editor and its extensions. Your workflow is confined to the platform's ecosystem. - The Devcontainer Approach: This approach offers total control at the cost of a small, one-time setup. As a power user, this is a trade-off I will make every time. With devcontainers, you define everything: the base operating system, the system libraries, the exact versions of Python and its dependencies, and the precise configuration of your IDE.
In short, while Colab and Kaggle give you a rented lab bench, our goal is to architect the entire laboratory.
The Foundational Pillars
To build our lab, we need a solid foundation. Our philosophy is to define our environment as code, ensuring it is repeatable and disposable. For this, we will rely on two fundamental tools:
- Docker: The industry standard for containerization. Docker allows us to package our application, libraries, and dependencies into an isolated container, guaranteeing that it runs the same way everywhere.
- DevPod: An open-source tool that makes it incredibly simple to create and manage development environments based on
devcontainer.jsonfiles. It acts as our user-friendly control plane for the lab.
Note: This article assumes you have a working knowledge of software engineering concepts and have Docker and DevPod installed. We will not cover the installation of these tools.
True Portability with Devcontainers
The core of our Modern Quant Lab is the devcontainer. A devcontainer.json file is a specification that tells DevPod exactly how to build our development environment—from the base operating system and system dependencies to the specific VS Code extensions to install.
This is a huge advantage. By defining our entire environment in a single configuration file, we unlock three critical capabilities:
- Consistency: Every team member, and every new project, starts with the exact same pristine environment.
- Portability: You can check your
devcontainer.jsonfile into your Git repository. Anyone can clone your repo, rundevpod up, and be inside the identical development environment in minutes. It runs everywhere. - Scalability: This is the game-changer. When your machine learning strategies demand more power, you don't need to change your workflow. You can point DevPod to a cloud provider like AWS, GCP, or Digital Ocean, and it will spin up your exact same environment on a machine with as many GPUs as you need. You scale your hardware, not your setup time.
Upgrading the Research Workspace
The common practice in quant trading is to use Python, and specifically Jupyter Notebooks, for research and backtesting. Jupyter is a fantastic tool for exploratory analysis. As a heavy Neovim user myself, my first instinct is always to build a powerful, keyboard-centric workflow. However, the integration between Neovim and Jupyter Notebooks, while functional, often lacks the seamless, interactive experience required for rapid experimentation.
This, combined with the general limitations of the standard web interface for larger software projects, means we can do much better. Instead of being confined to a browser tab or a compromised terminal experience, we will leverage the full power of Visual Studio Code. Thanks to DevPod's integration with vscode-server, we get a rich, first-class IDE experience with excellent Jupyter support, a powerful editor, an integrated terminal, and full debugging capabilities, all accessible from a URL.
Practical Implementation: Building Your Lab
Let's put theory into practice. We will now build the lab from the ground up, starting with our project repository and its environment definition.
1. Create Your quantlab Repository
First, create a new directory on your local machine. This will serve as the root of your project and your version-controlled Git repository. We'll call it quantlab.
mkdir quantlab && cd quantlab2. Define the Environment with devcontainer.json
This is the most critical step. We will now tell DevPod exactly how to construct our laboratory. We are also adding a feature for uv, a high-performance Python package manager that will handle our dependencies with incredible speed.
Inside your quantlab directory, create a new folder named .devcontainer. Within this new folder, create a file named devcontainer.json and add the following content. Notice the commented-out features for cloud CLIs; you can uncomment them if you need to interact with cloud services directly from your lab.
{
  "name": "Quant Lab",
  "image": "mcr.microsoft.com/devcontainers/python:3",
  "features": {
    "ghcr.io/va-h/devcontainers-features/uv:latest": {}
    // "ghcr.io/devcontainers/features/aws-cli:1": {}
    // "ghcr.io/devcontainers/features/azure-cli:1": {}
    // "ghcr.io/dhoeric/features/google-cloud-cli:1": {}
    // "ghcr.io/devcontainers/features/nvidia-cuda:2": {}
  },
  "customizations": {
    "vscode": {
      "extensions": [
        // code plugins
        "ms-python.python",
        "ms-toolsai.jupyter",
        // editor plugins
        "vscodevim.vim",
        // ui plugins
        "Catppuccin.catppuccin-vsc",
        "Catppuccin.catppuccin-vsc-icons"
      ],
      "settings": {
        // editor settings
        "editor.fontSize": 16,
        "editor.minimap.enabled": false,
        // terminal settings
        "terminal.integrated.fontSize": 16,
        // window settings
        "window.autoDetectColorScheme": false,
        // ui settings
        "workbench.startupEditor": "none",
        "workbench.iconTheme": "catppuccin-mocha",
        "workbench.colorTheme": "Catppuccin Mocha",
        // extensions settings
        "extensions.autoCheckUpdates": true,
        "extensions.ignoreRecommendations": true,
        // security settings
        "security.workspace.trust.enabled": false
      }
    }
  },
  "remoteEnv": {
    "UV_LINK_MODE": "copy"
  },
  "postCreateCommand": "uv sync || true"
}
3. Launch the Lab with DevPod
To ensure that all VS Code extensions install and function correctly, it's a best practice to lock the IDE to a specific, known-good version. This avoids unexpected issues from upstream updates.
With the devcontainer.json file in place, make sure you are in the root of your quantlab directory in your terminal. We will launch our environment specifying the openvscode IDE at version v1.102.3.
Run the following command:
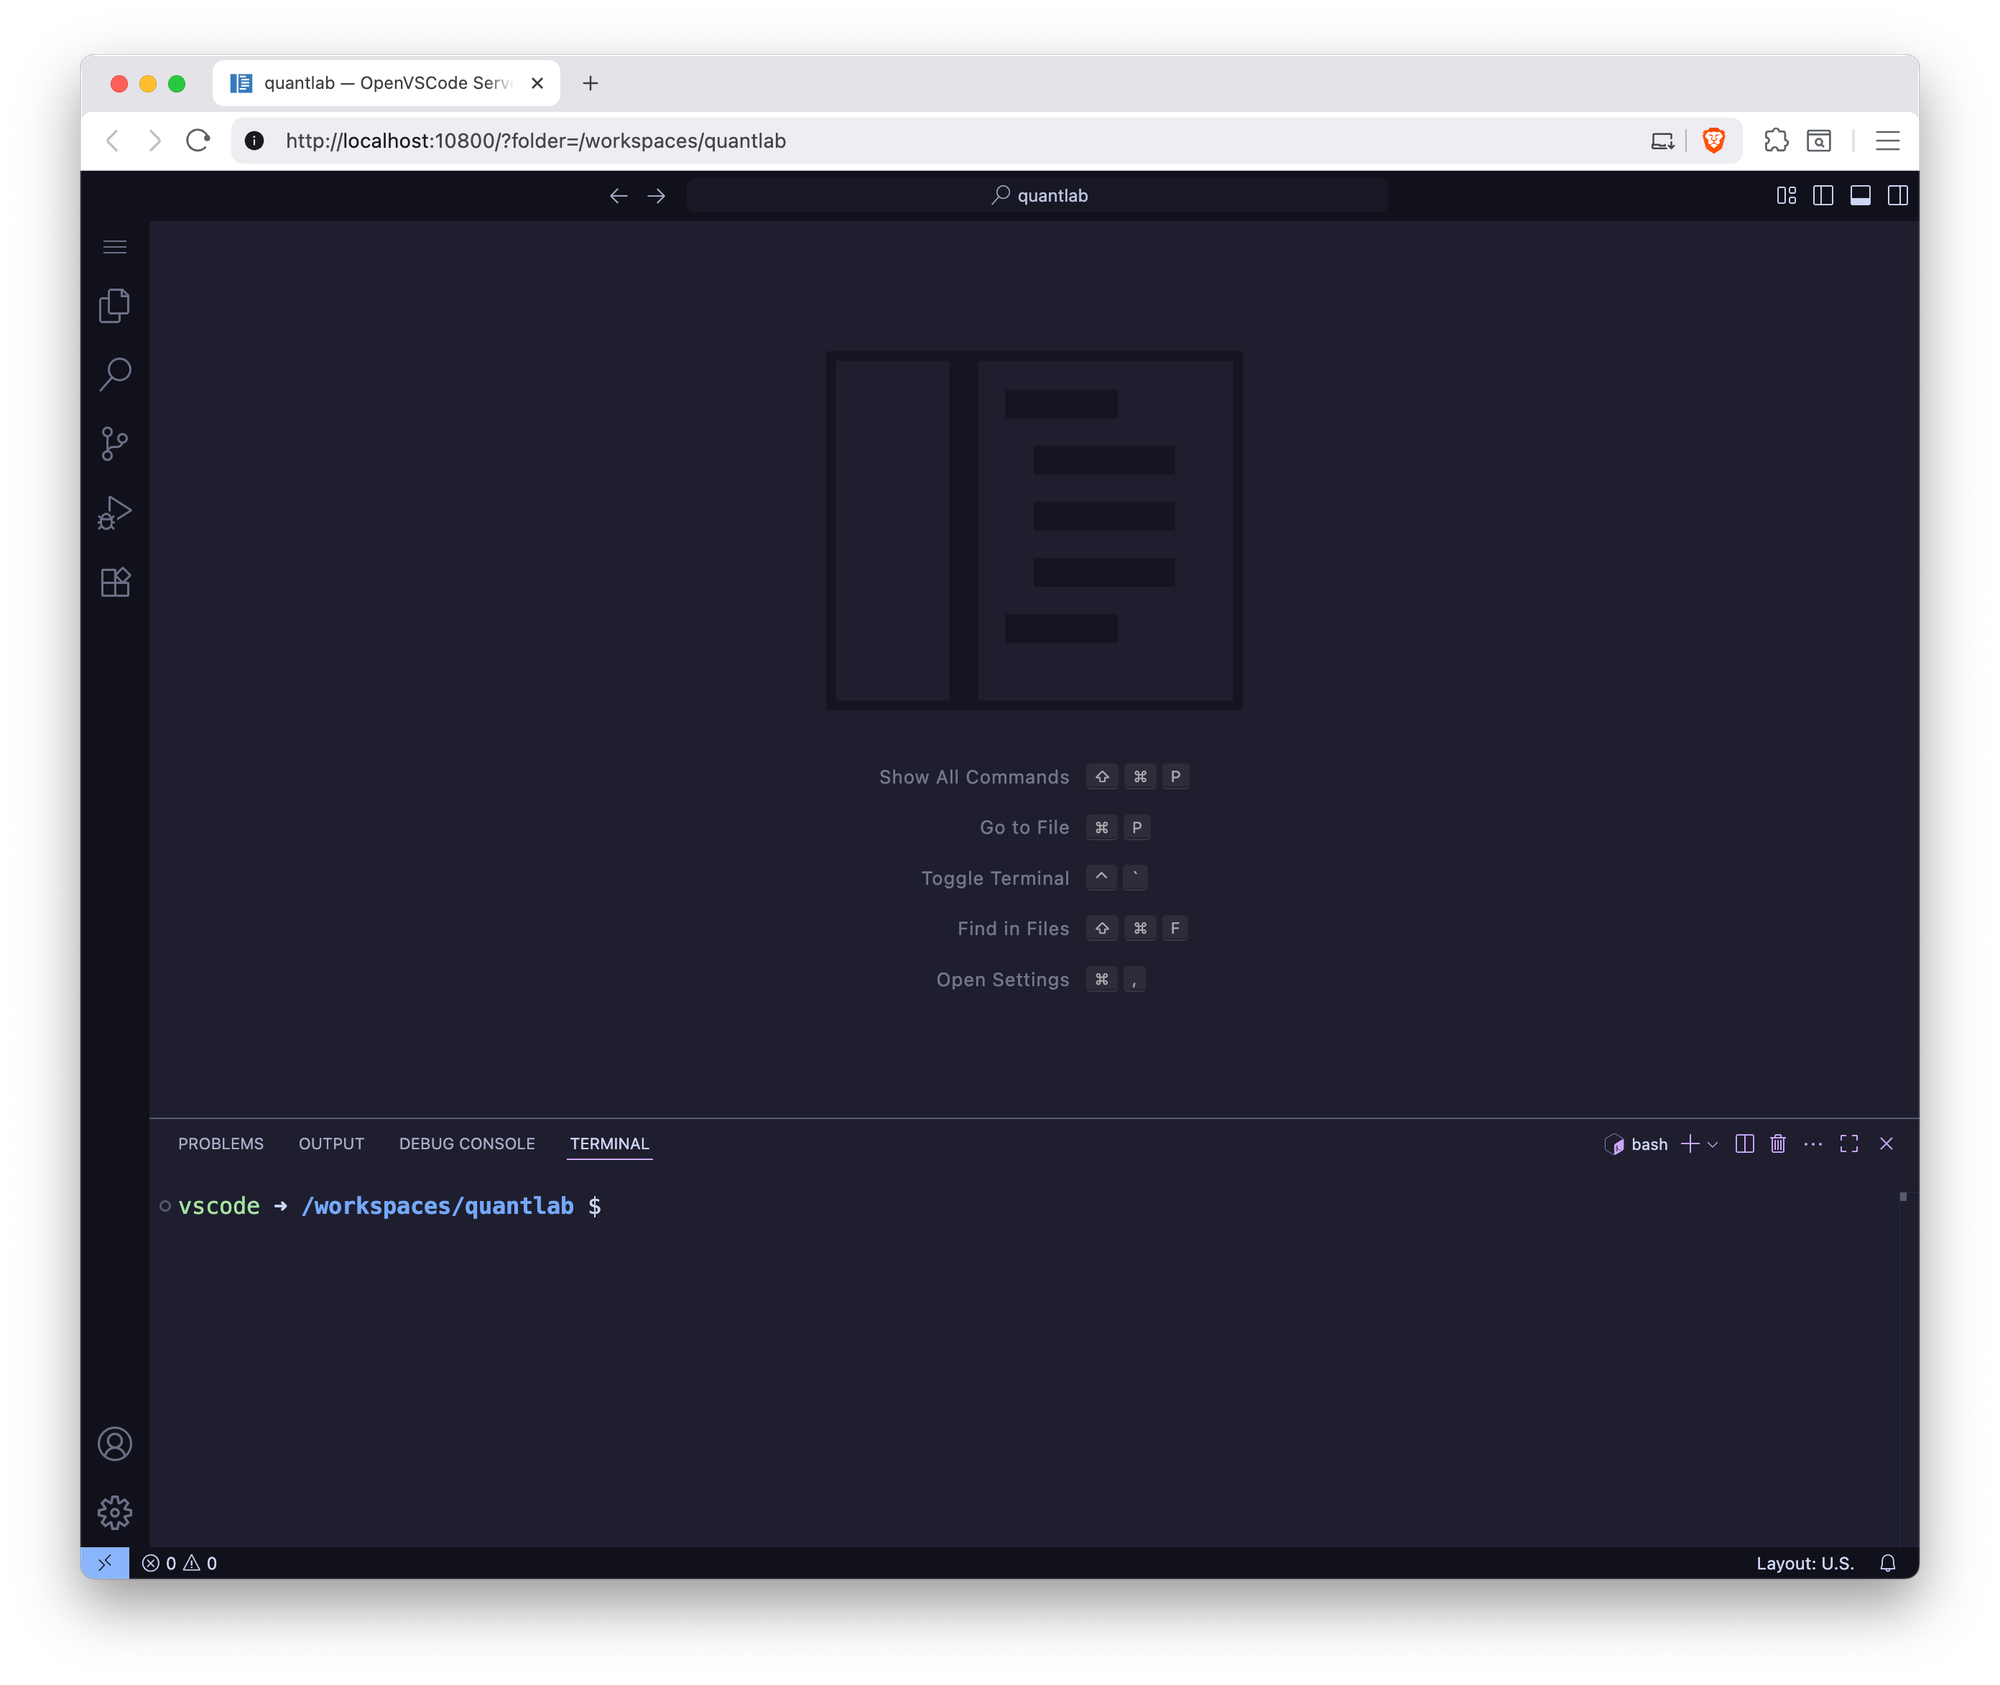
devpod up --ide openvscode --ide-option VERSION=v1.102.3 .DevPod will now read your configuration, build the Docker container (installing uv and any other features), and provide you with a URL. Open this URL in your browser to access your fully configured VS Code instance. Welcome to your new lab!
4. Scaffold the Project Structure with Cookiecutter
An empty folder is a poor starting point for a serious project. To ensure our lab follows a consistent, professional, and scalable structure from day one, we will use a project templating tool called cookiecutter.
Specifically, we will use the highly-regarded cookiecutter-data-science template, which you can find here.
Since I'm not an expert in structuring data science projects, I prefer to rely on a proven, community-vetted template like this one. It provides a logical layout for data, notebooks, source code, and models, enforcing best practices from the start.
Step 1: Install the Tool
First, we need to install the cookiecutter command-line tool. Inside the VS Code terminal provided by your DevPod environment, run the following command. We use pipx to install it in an isolated environment, which keeps our project's dependencies clean.
pipx install cookiecutter-data-scienceStep 2: Create the Replay file
Create a new file named quantlab.json with the following content. This file pre-defines all the settings for our lab's structure.
// /workspaces/quantlab/quantlab.json
{
  "cookiecutter": {
    "project_name": "quantlab",
    "repo_name": "quantlab",
    "module_name": "quantlab",
    "author_name": "0xSuperQuant",
    "description": "SuperQuants Research Lab",
    "python_version_number": "3.10",
    "dataset_storage": "none",
    "environment_manager": "uv",
    "dependency_file": "pyproject.toml",
    "pydata_packages": "basic",
    "testing_framework": "pytest",
    "linting_and_formatting": "ruff",
    "open_source_license": "No license file",
    "docs": "mkdocs",
    "include_code_scaffold": "Yes"
  }
}
Step 3: Run the Template
Now, from the/workspaces inside the container, run the command to scaffold your project using the data science template:
ccds -f --replay-file quantlab/quantlab.json
This single command will read your quantlab.json file and automatically generate the entire professional project structure inside the /workspaces/quantlab directory. Your lab is now perfectly scaffolded and ready for research. To understand the purpose of each generated folder, you can explore the official directory structure guide here.
Conclusion
You have now built more than just a development environment; you have architected a system. With a single configuration file, you have created a Modern Quant Lab that is portable, scalable, and professional. You can now spin up a clean, fully-configured workspace for any new trading idea in minutes, whether on your laptop or a supercomputer in the cloud.
The foundation is set. It's time to stop fighting your tools and start building the future of trading.